The idea of building a child rocking chair as a gift for your baby is meaningful.
This type of chair offers incredible relaxation and soothing. You will thank it to better feed and drive your child to sleep.
In this article, we give 10 plans to make an easy and comfortable rocking chair.
Let’s dive into it!
Table of Contents
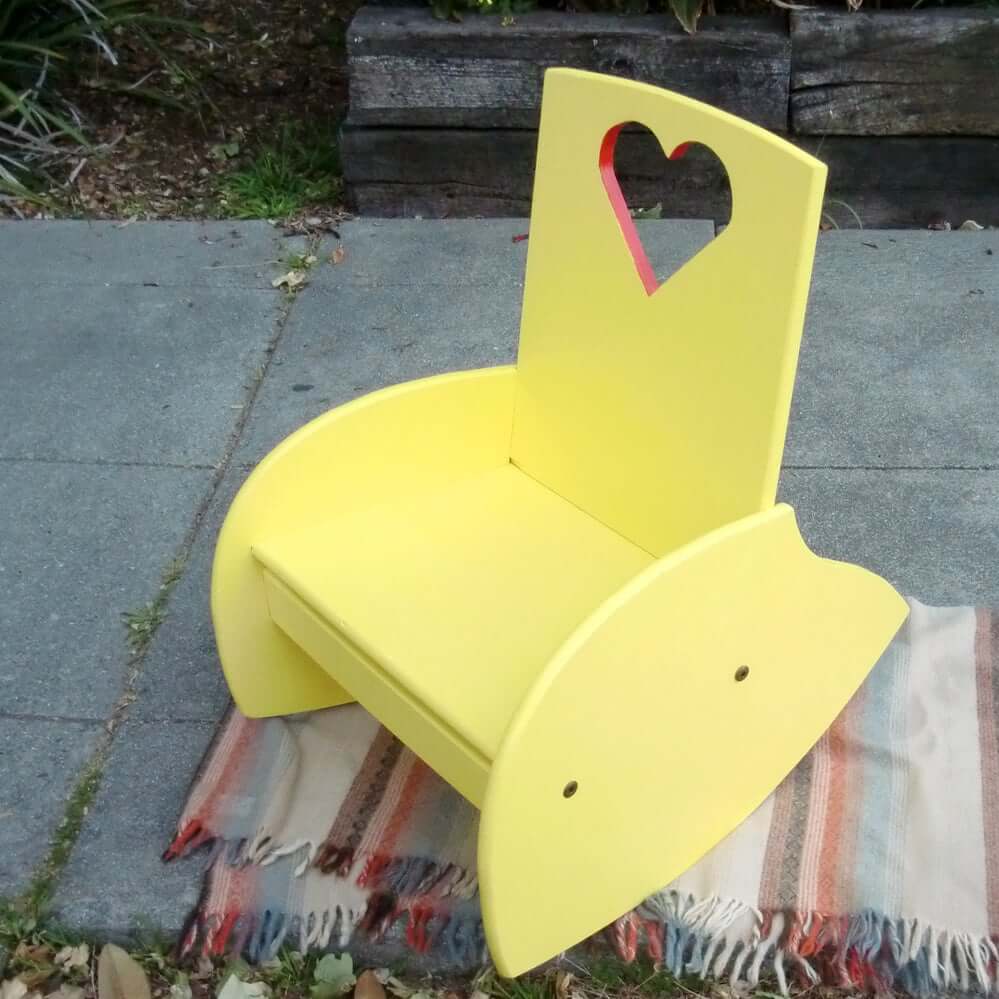
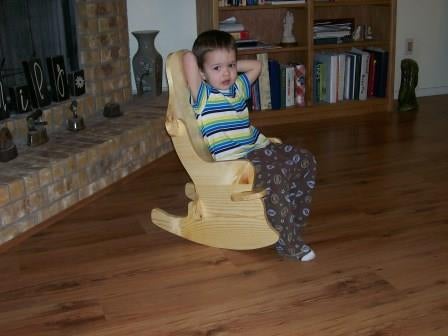
How lovely is a heart-cut-out child rocking chair!
You will need 5 pieces of wood cut to sizes and 2 tension bolts available to complete this project.
The dado cuts are the most complicated since you have to make sure that they are accurately formed so that 2 sides can squarely and firmly join up.
Each dado is from ⅜-inch to ¼-inch deep. It is better to download the template of the project and cut them perfectly.
The seat is easier to cut. It is 13 inches and 19 inches long, having tapered edges to fit the dado sides and the back snugly.
You can customize its width to accommodate when your baby grows.
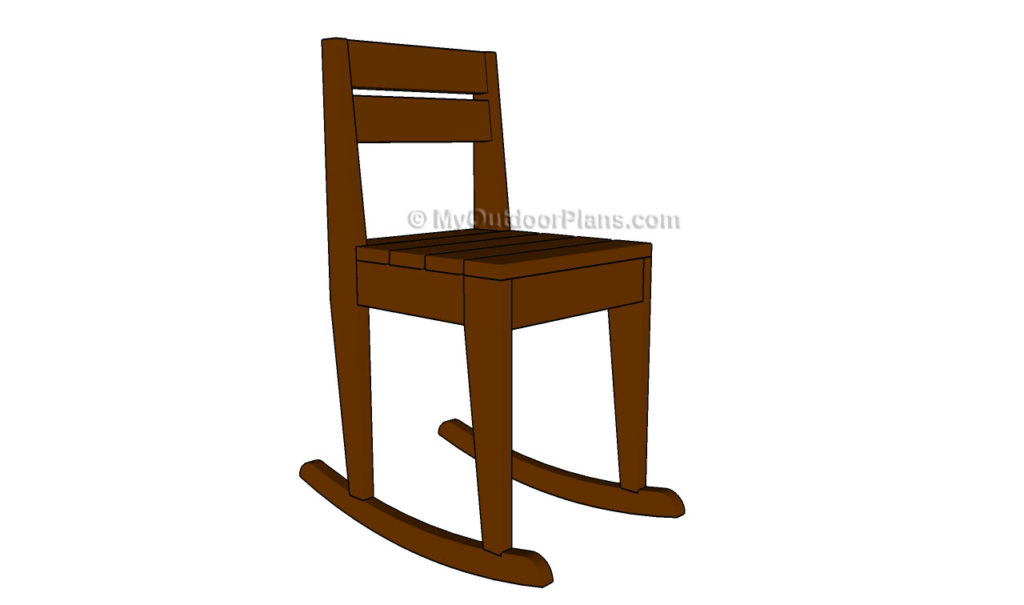
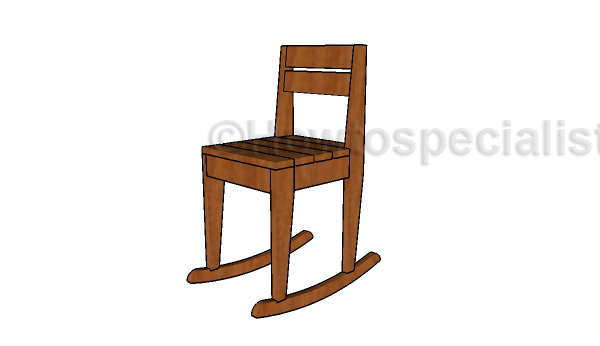
The second rocking chair is for kids of 3 to 5 years old as it is taller and without armrests.
You will build a normal chair first, getting started with cutting 4 sturdy legs, the seat frame, and slats.
All cuts must be made out of 1×3 lumbers and smoothened with fine sandpaper. Securely lock them with screws, nails, and wood glue.
Next, build the rockers. You’ll use pieces of 1x4x20 inches and 1x2x11 inches. Cut lines out of the first 2 pieces identically and smooth the edges to even out their surface.
The rockers are drilled into the legs then. We would recommend adding glue to enhance the bond of each joint.
With this rocking chair, the legs are short, and the rockers are just slightly curved. Thus, even your 1-year-old baby can sit on it and enjoy small rocking motions.
Interestingly enough, you will begin with cutting the two 2×4 studs to identically curved rockers.
Mark 2 holes along with the studs where you will install 4 wood dowels as the legs. It is possible to attach 2 horizontal boards, each between 2 legs, to enhance stability.
The back of this seat is also made from 3 large wooden dowels installed into the seat by mortise and tenon joineries.
In the end, you might paint the chair with your kid’s favorite color.
There is a way to build a child rocking chair out of wooden plumbers without being involved with screws or nails.
Prepare a ¾-inch plywood sheet and cut 4 parts from it. The key to success with the project is to make 2 parallel legs identical.
Even the holes and cutting slots on parts must fit snugly on one another. You can use glue to strengthen the connections.
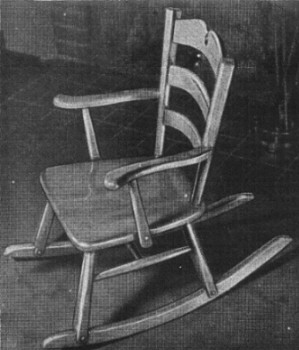
With features a sturdy frame and comfortable arms. This rocking chair is a worthy challenge for the craftsman’s skills. Make sure that you are already familiar with cutting lumber from different angles.
The seat should be available first. Next, mark holes from the underside. You can make the drilling lines a slight tilt to create a comfortable angle on the back of your kid. The tilt is possibly measured with a bevel or a tee.
You will continue with the legs. In the project, the seat’s height is from 10-1/2 inches to 11-1/2 inches, depending on your kid’s height.
All in all, we appreciate that the chair is detailedly crafted and comfortable.
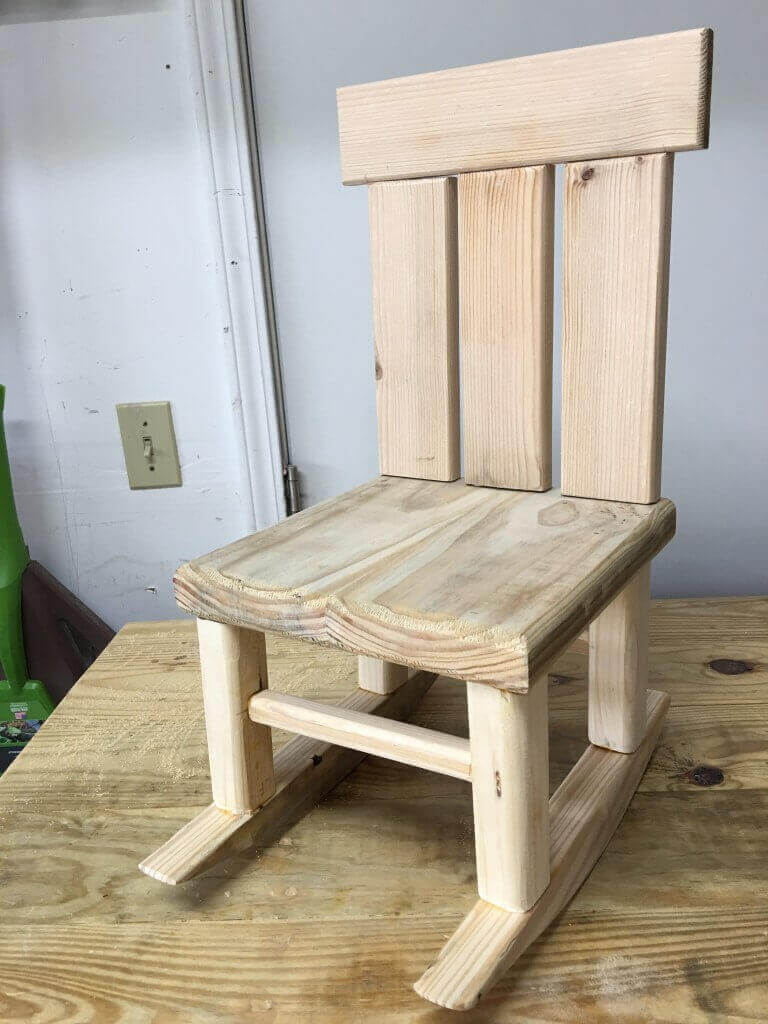
Another approach to creating your rocking chair is, to begin with, the seat rather than the legs. You will need 3 pieces of 1x3x11 inches, 2 pieces of 1x3x12 inches, and 5 pieces of 1x3x12-½ inches.
As mentioned above, cut the woods to pieces and drill holes through the 11-inch slats to form a seat frame.
You can continue with the legs. 1×3 lumbers in use to improve the sturdiness. Then, cut 2 14-inch legs and another 2 26-inch legs. The longer legs are also working as a frame for the backrest.
Related to the rockers. You might consider 1×4 lumbers and cut their curved lines with a jigsaw. In the end, all the 3 main parts are screwed and glued together.
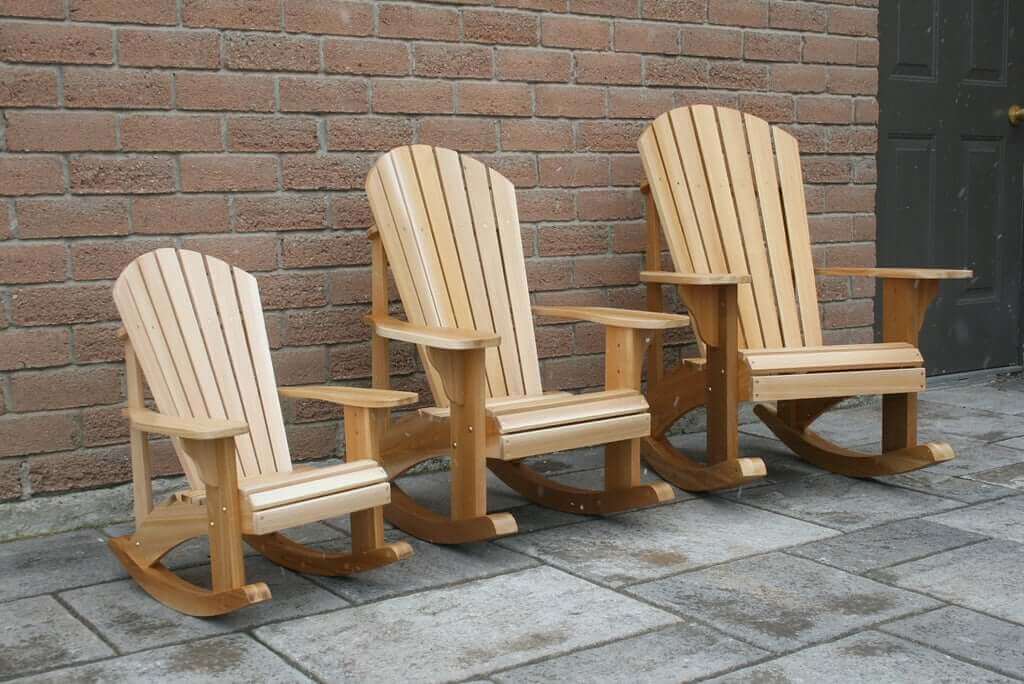
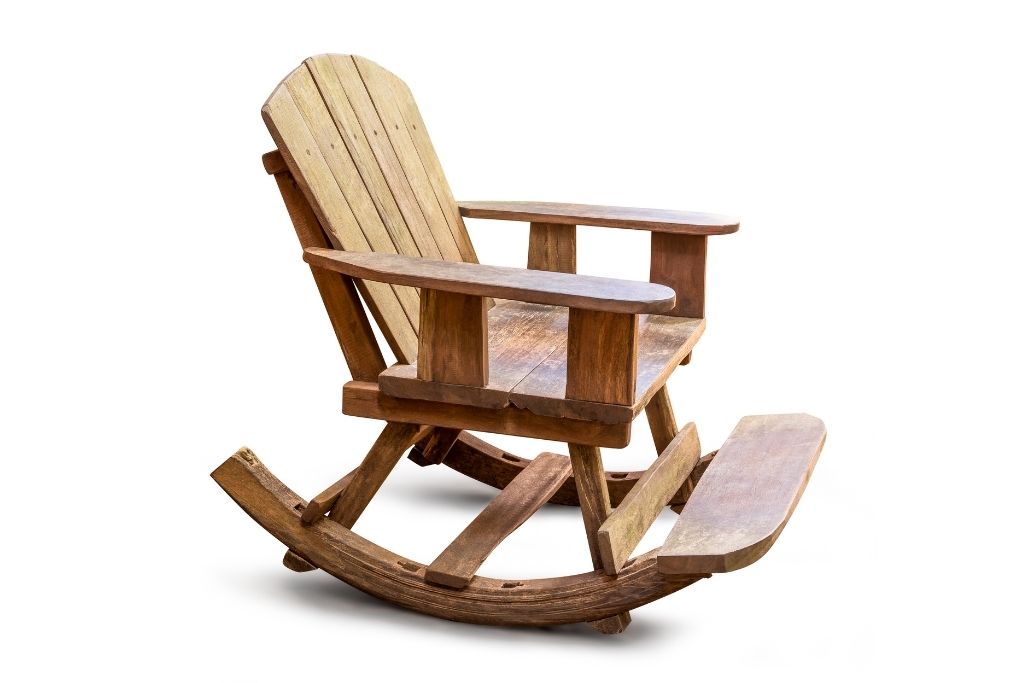
These Adirondacks rocking chairs having 4 legs close to the ground are often for the adult who likes slow swinging motions.
However, you will find a detailed guide to creating a mini Adirondack chair for your kid here.
There are 2 dimensions available: the smallest child plan is 17-inch W x 18-inch D – 1/2×23-inch H and the junior 22-inch W x24-inch D x29-1/2-inch H.
In this guide, we are discussing the junior version. Its legs are very short but sturdy. You can download the file pdf to see clearly the instructions.